Augmented Reality Photography Tricks: Turning Ordinary Spaces into Cinematic Illusions

Chosen theme: Augmented Reality Photography Tricks. Step into a playful, practical guide for crafting believable AR photos that blend virtual details with the real world. Learn the methods that make people look twice, and share your experiments with our community so we can cheer you on and learn together.

Calibrate with a Slow, Deliberate Pan

Before placing any digital object, pace a patient arc and scan your environment. Let ARKit or ARCore map planes, corners, and depth cues. A slow figure-eight usually stabilizes tracking, while pausing briefly on textured areas reduces drift and yields more reliable anchor points for your composition.

Seek Textured, Matte Anchors

Plain glass tables and glossy floors confuse plane detection. Choose matte wood, fabric, brick, rough concrete, or patterned tiles. These surfaces offer repeatable features that sensors recognize. If nothing is available, drop a newspaper or patterned cloth to give the system something trustworthy to latch onto.

Scale, Perspective, and Convincing Occlusion

Use forced perspective to make a desk dinosaur tower like a skyline or a bus shrink to toy size. Anchor the model slightly farther than your subject to manipulate relative scale. Align edges with real vanishing lines so the brain accepts the impossible without protest.

Light Like a Magician: Matching Illumination and Shadows

Identify the scene’s warmth: cool daylight, tungsten glow, or mixed fluorescent. Adjust white balance so the virtual object inherits the same hue bias. If your scene is contrasty, increase virtual key-to-fill ratio. A soft, foggy morning needs low-contrast shading to sit naturally in the frame.

Light Like a Magician: Matching Illumination and Shadows

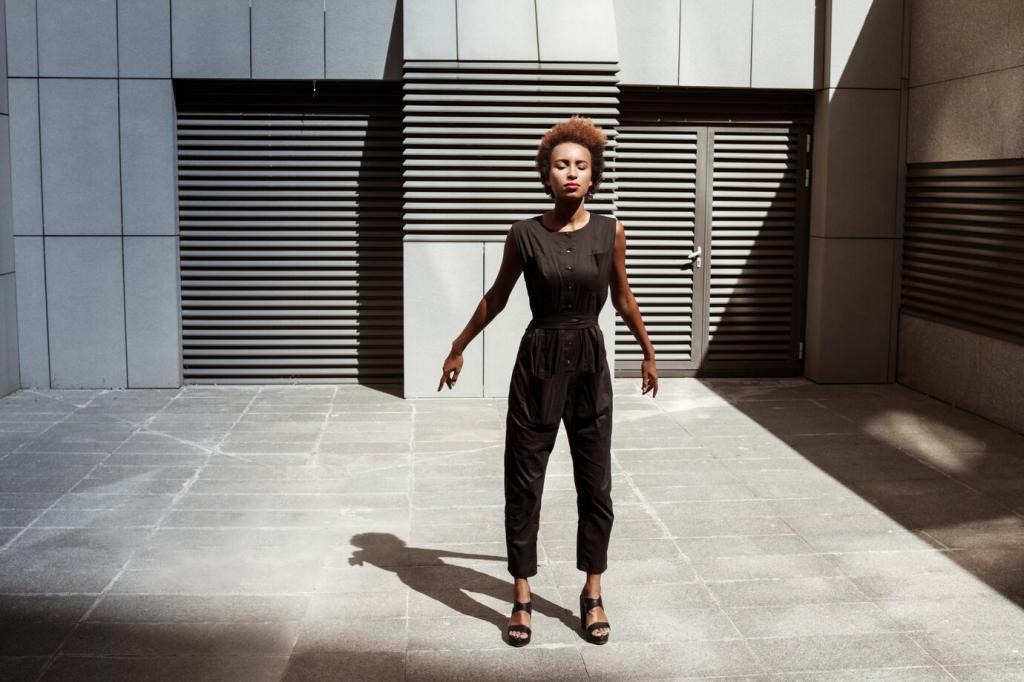
Add a subtle shadow catcher beneath your object, then tune blur radius to match distance from light source. Direction should follow your scene’s strongest highlight. A barely visible, feathered shadow does more than a heavy one; it whispers, which makes the brain believe. Post your favorite shadow settings below.

Motion and Parallax That Make Viewers Believe

Micro-Arcs for Parallax Proof

After placement, move the phone in a gentle arc so foreground and background shift subtly. The virtual element should drift consistently relative to real objects. Even a five-degree swing communicates authentic depth. Try it in a hallway with repeating lights, and tell us how far you moved before it felt perfect.

Freeze vs. Motion Blur Illusions

AR overlays usually render crisp, even during phone motion. To harmonize, keep shutter speeds short or simulate blur later in post. A light directional blur on the virtual element, matched to the phone’s motion, recovers realism. Share your favorite apps for controlled blur and we’ll compare results.
Grade the whole image, not just the background. Match midtone contrast and grain across real and virtual elements. A subtle filmic LUT can hide tiny rendering differences. Save presets for your recurring locations, and share a screenshot of your favorite curve shapes with the newsletter community.
Zoom to 200% and scan edges where virtual meets real. Soften hard borders with a half-pixel feather, clone out plane-detection speckles, and reduce over-sharp normals. A light vignette can focus attention away from tricky seams. Comment with problem shots, and we’ll workshop solutions together.
Square for galleries, 4:5 for feeds, 9:16 for stories and shorts. Keep bitrates high enough to preserve gradients in shadows and neon scenes. Add concise alt text describing the AR trick, then invite viewers to try it. Subscribe for weekly prompts and community challenges to keep improving.
Ev-central
Privacy Overview

This website uses cookies so that we can provide you with the best user experience possible. Cookie information is stored in your browser and performs functions such as recognising you when you return to our website and helping our team to understand which sections of the website you find most interesting and useful.